Initial Set Up for Issues
Video 1 - Set Up for Issue Priority
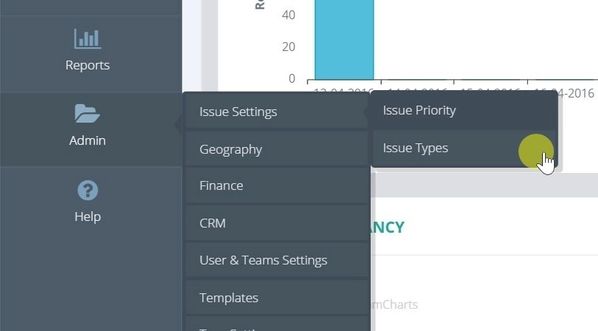
Video 2 - Set Up for Issue Types
Set Up for Issue Management System
Before using the Issue Management System, an admin will need to set up Issue Priorities and Issue Types for users to select.
Set up Issue Priorities
1 - Go to Admin and Issue Settings and select Issue Priority

2 - This will show you a list of all Issue Priorities currently in the system. To add a new priority level, click on Add Issue Priority.

You will need to enter the following information.:

3 - Provide a Priority Name.

4 - Use the stepper to set a Target Response Time, in number of hours. This is the maximum number of hours it should take to respond to the person who raised the issue. When this priority is selected in a new issue, the Response Target Date will automatically be set to this date/time.

5 - Use the stepper to set a SLA Response Target, in number of hours. This is the maximum number of hours it should take to resolve the issue. When this priority is selected in a new issue, the Response Target Date will automatically be set to this date/time. This is also the date/time that will trigger the issue to be displayed in the dashboard as Overdue if the issue is not resolved by this time.

6 - Save the issue.

Going back to the list of Issue Priorities, you will see the Priority that you have just created.

Set Up Issue Type
1 - Go to Admin, Issue Settings and select Issue Types.
2 - You will be shown a list of all existing issue types in the system. Click on the Add Issue Type to create a new type.

You will need to supply the following information.

3 - Give your issue type a name.

4 - Then, select the priority that you would like to default to when an issue of this type is created.

These priorities are the ones you have just created. When the issue is created with this type, the selected priority will be used as the default, subsequently also setting the target response time and SLA deadline time as well. Note that the user can then update the priority if the default value is not appropriate for that particular issue.

5 - Save the type.

6 - Going back to the list, you will see the new type that you have just created.
