E-Arrivals
A guide on the E-Arrivals Set Up.
E-Arrivals is an email function which allows users to send online booking arrival information to the guest about there booking and codes so that they can know the location of their stay and have access to the building and unit.
1. Res:Harmonics need to switch on E Arrivals
Internal Feature that ResHarmonics Switch On/Off. Please contact Support Team to Activate.
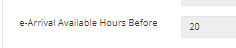
2. Within System Configuration → Settings → E-Arrival Available Hours Before. This setting allows you to choose how early before arrival the guest will be receive the E-Arrival Email.
3. Setting up Access Codes.
Access Codes are used within E-Arrivals to display the codes to access the building and many other codes the building may have on the E-Arrival screen. This is so that the guest can have access to the list of codes.
They will need to be set up for all buildings. Within Properties → Buildings → Click on any building → Access Codes tab.
This is a list of all the created access codes for the building. with the option to edit, delete or add a new access code.

This is the Access Code creation page in which you can create a name for the code, type and a value (code). Once this is done you can click Add Access Codes and it will create the code.
.PNG?version=2&modificationDate=1516715991773&cacheVersion=1&api=v2&width=1196&height=228)
To view all the Access Codes currently created, click on Admin → Properties → Access Codes, this will show you a list of all access codes for each building.

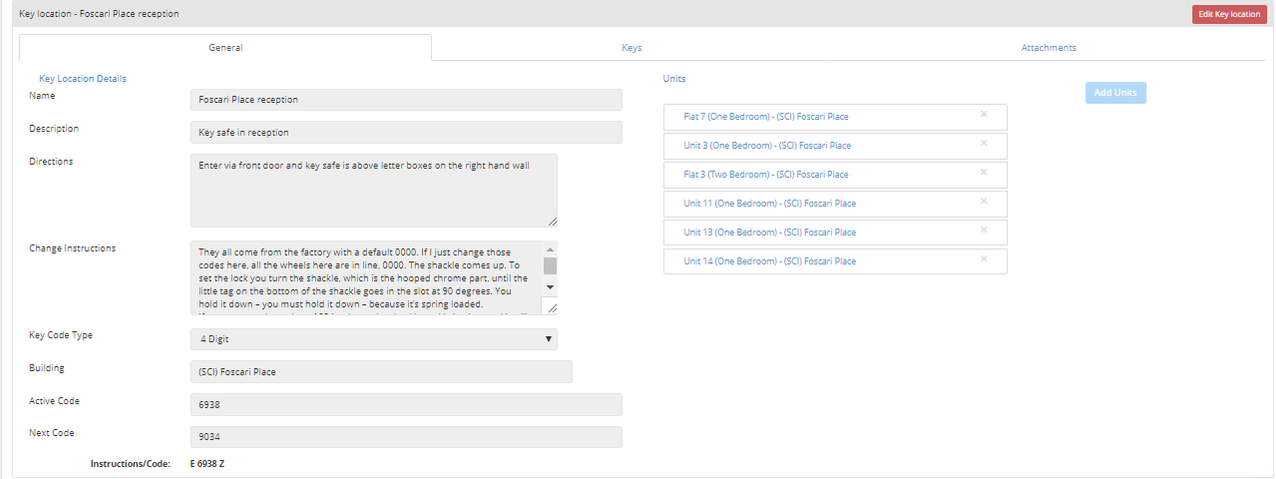
4. Key Location Access Codes - Within Properties → Key Locations. You can view the Active Code which will be displayed on the E-Arrival Screen and also view the units the code is assigned to. Ensure all units are assigned to a key location with an active code.
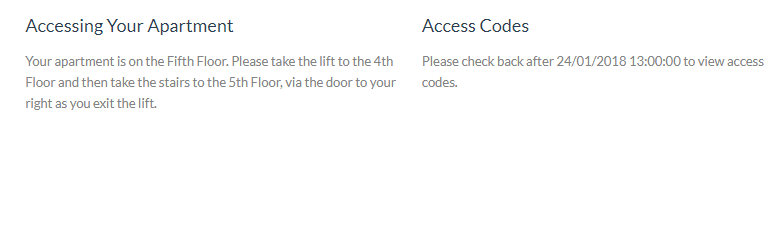
This is what the E-Arrival Page will look like with the Access Codes.
5. After this is set up you will need to set up the Branding.
Branding - This is a section which allows you to choose the logo for which will appear on the E-Arrival page. Within Admin → Templates → Branding.
This page will show you all the branding you have currently in ReRum.


6. To create a branding click on Add Branding. You will get the page below which will ask you to enter a name, Logo URL and Contact Details for the Branding.
Enable Logo allows the logo to be displayed or not within the E-Arrival page when switched on/off.

7.Within Each Enquiry created, you will have the choice of a Branding Field, from here you can select the branding that have been created and assign different logos to each booking.
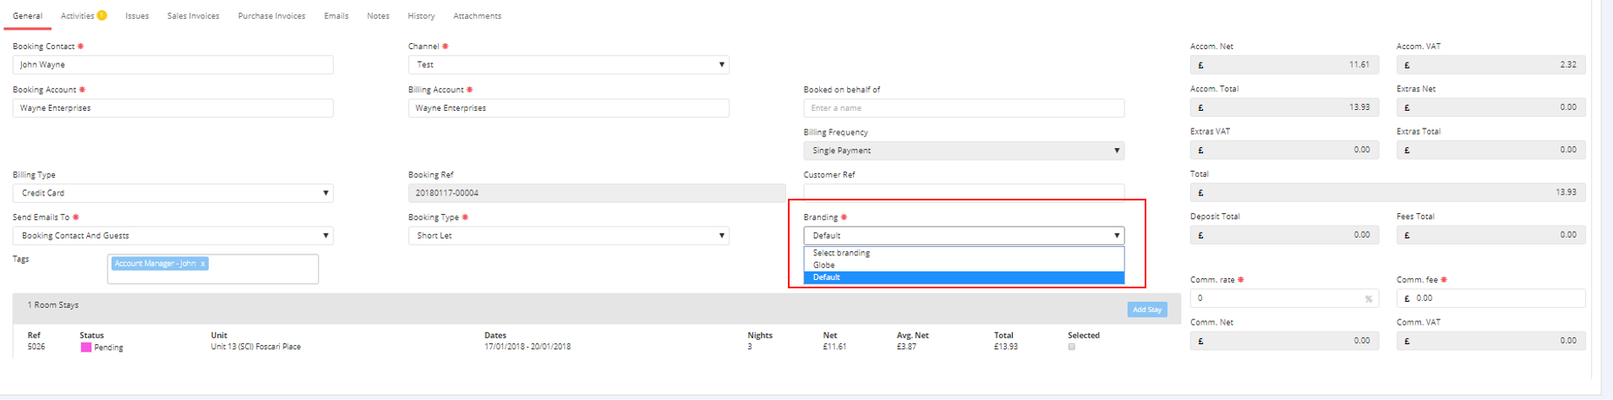
Example of the process:
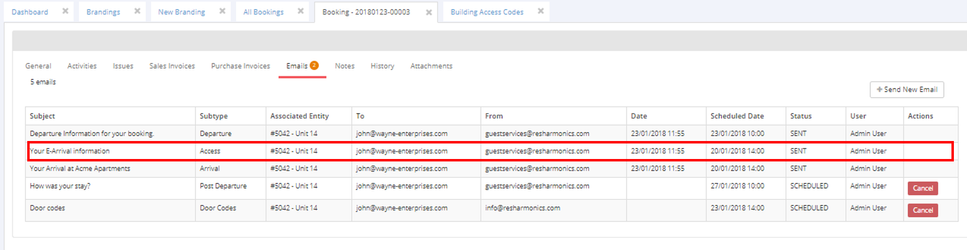
When you create a booking and make it an enquiry you will be able to choose the branding, Once the branding is chosen (like the image above) then when the Enquiry is pushed into Confirmed, Emails will be generated, One of the emails will be the E-Arrival Infomation.
This is what the email template looks like.
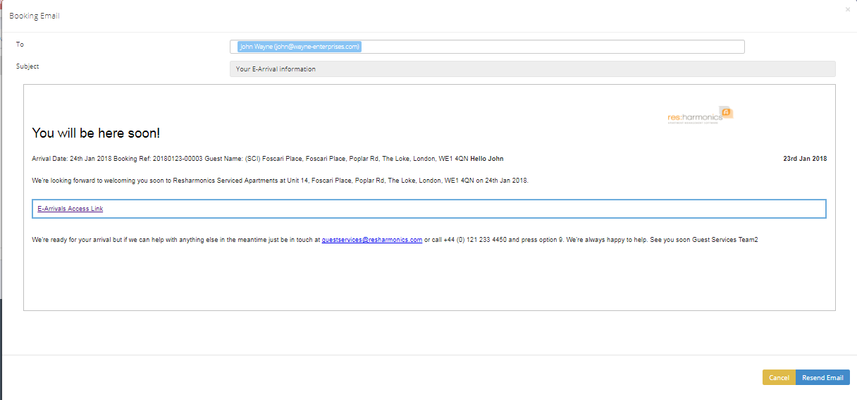
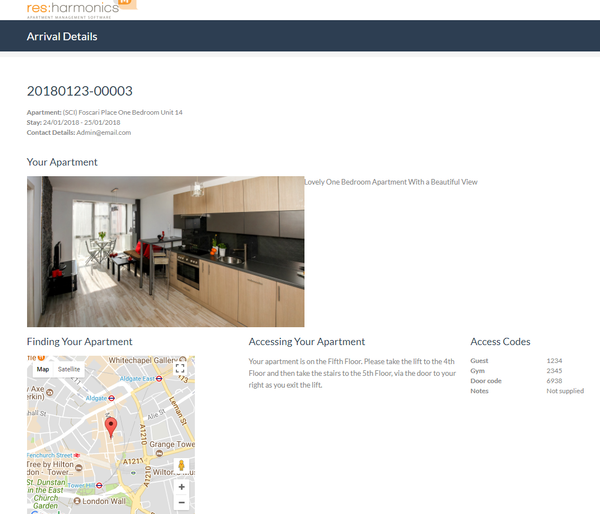
When the link is clicked, it will take you to the E-Arrival Page. If the booking is allowed to be seen then the page will look along the lines of this.

If the booking is not allowed to be seen then the access codes will state this: