...
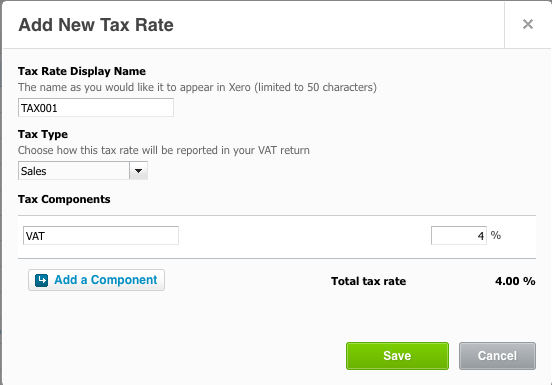
3- In Xero add a new Tax Rate to support 4% Tax rate used for stays over 28 nights. Tax rates can be found in Settings - General Settings - Tax Rates. Copy the below exactly & click save.

4- Create a chart of accounts entry in Xero for each of your Sales products in ReRum PMS.
...
You can find your products in ReRum PMS in Admin - Finance - Products.
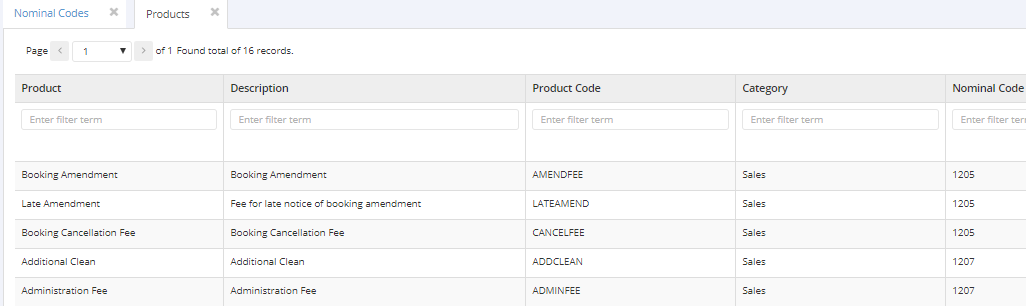

You then find the chart of accounts in Xero. This is found in Settings > Chart of accounts > Click Add account. Repeat this for each product you expect to use on Sales Invoices in ReRum PMS.
(Note: You will need to use one nominal code along with a generic unique name to cover all aspects for that code which may be listed more than once in ReRum.)
.png?version=1&modificationDate=1507907472610&cacheVersion=1&api=v2)
.png?version=1&modificationDate=1507907472610&cacheVersion=1&api=v2&width=697)
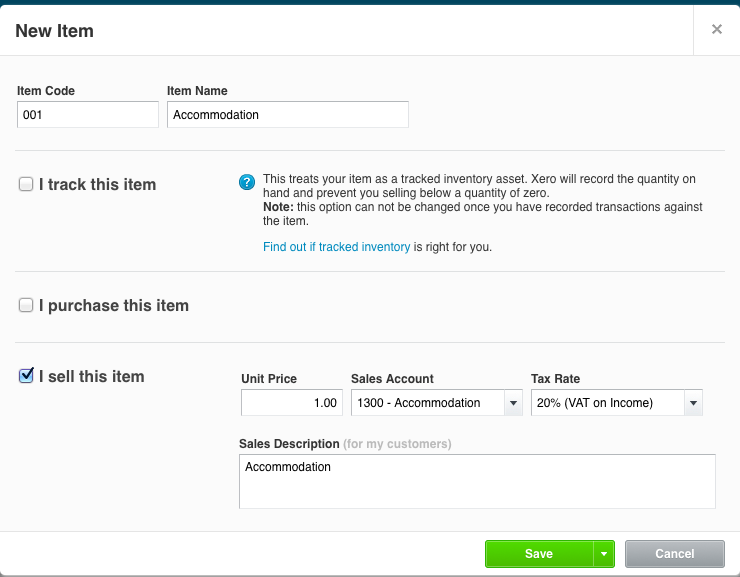
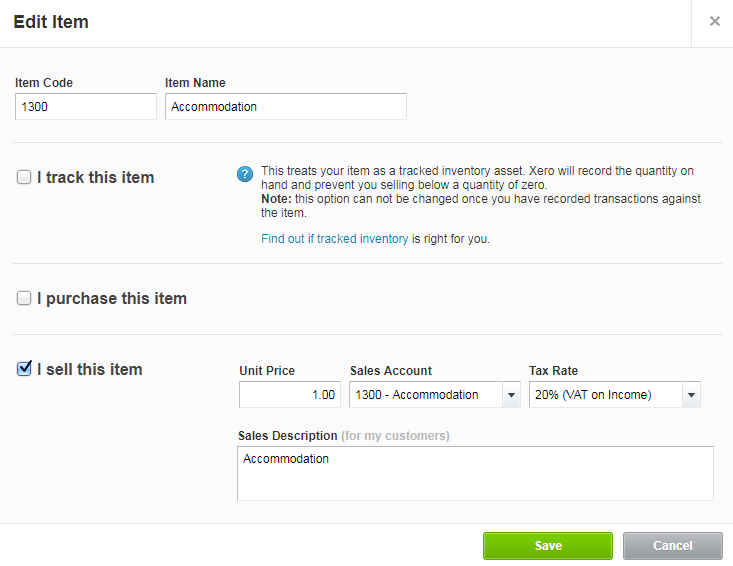
5- ReRum PMS uses Xero inventory items for it's invoice line items. Therefore you need to create these inventory items. Inventory items are added in Xero via Accounts > Inventory > New Item.
...
Note: Create an inventory item for each Product listed in ReRum (can have the same nominal codesales account)
Note: Item Code can be in the form of 1,2,3 or can be the Product Code listed in ReRum, this is dependant on your preferenceCodes + Item Name needs to match the nominal code on ReRum, this is creates a link between Xero and ReRum, however a nominal code can only be used once per inventory item.
6- ReRum needs to be configured with the data from Xero and to do this is to click on Admin > System Configuration > Xero. This will allow you to make ReRum and Xero able to interact correctly.

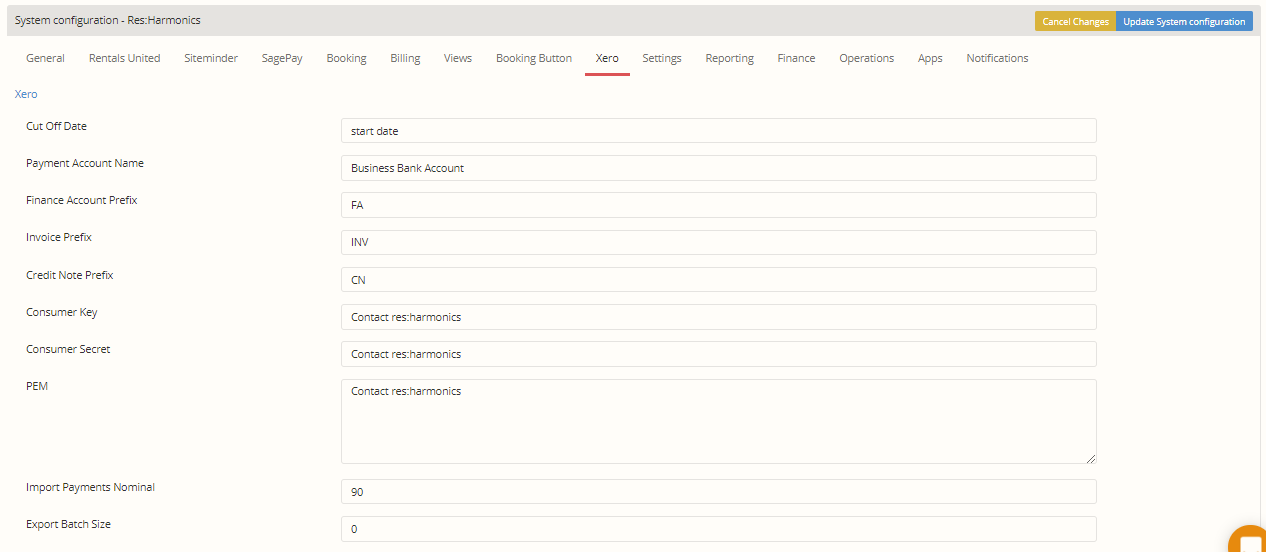
This Infomation should match the following set of data within Xero. Below is a breakdown of each field which will explain how to gather this infomation and create a link between the two systems.
...
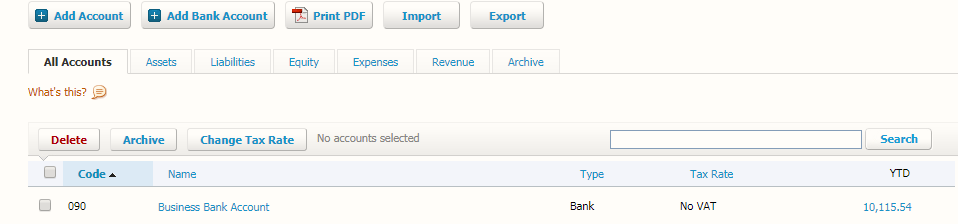
This needs to match the bank account name in Xero. To access this page simply click on Settings > Chart Of Accounts.

Finance Account Prefix -
...
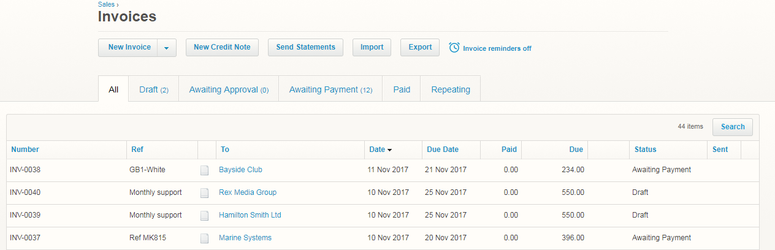
This needs to match with the Prefix in the Number Column. To access this page click on Account > Sales > Click 'see all'. As you can see the "INV" is used for all invoices. Copy this into the Field.

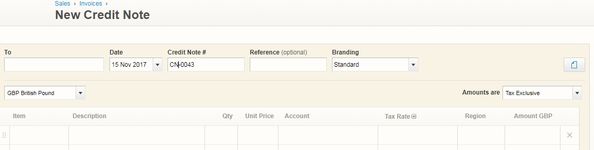
Credit Note Prefix -
This needs to match with the Credit Note Prefix in Xero. When creating a Credit Note, it should automatically generate a Credit Note number. The Prefix should be "CN". Copy this into the Field.

Consumer Key, Consumer Secret and PEM -
...
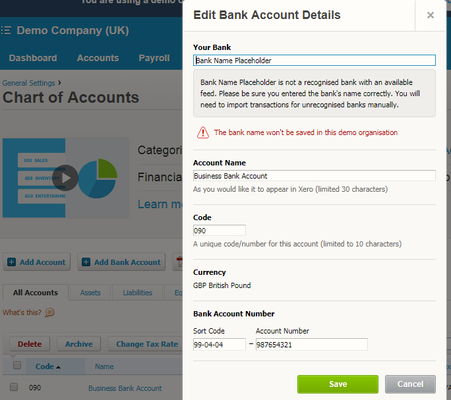
This needs to match the code in the Business Bank Account. Go to Setting on Xero > Chart Of Accounts > Open the Business Bank Account and copy the code into this field.

Export Batch Size -
...